How to Setup Netgear WiFi Extender
Introduction
Expanding your WiFi coverage can dramatically improve your internet experience. A Netgear WiFi extender is one of the best tools to eliminate weak signals and dead zones in your home or office. However, the setup process can be daunting if you are not familiar with it. This guide will walk you through how to setup a Netgear WiFi extender, ensuring a seamless and effective extension of your WiFi network. Whether you're a tech novice or a seasoned expert, this guide offers comprehensive details to help you maximize your WiFi extender’s performance.

Understanding Your Netgear WiFi Extender
Before diving into the setup process, it's essential to understand what a Netgear WiFi extender does and how it works. A WiFi extender, also known as a repeater, amplifies your existing WiFi signal to broaden its reach. It connects to your primary router and then rebroadcasts the signal to areas where your router may not reach.
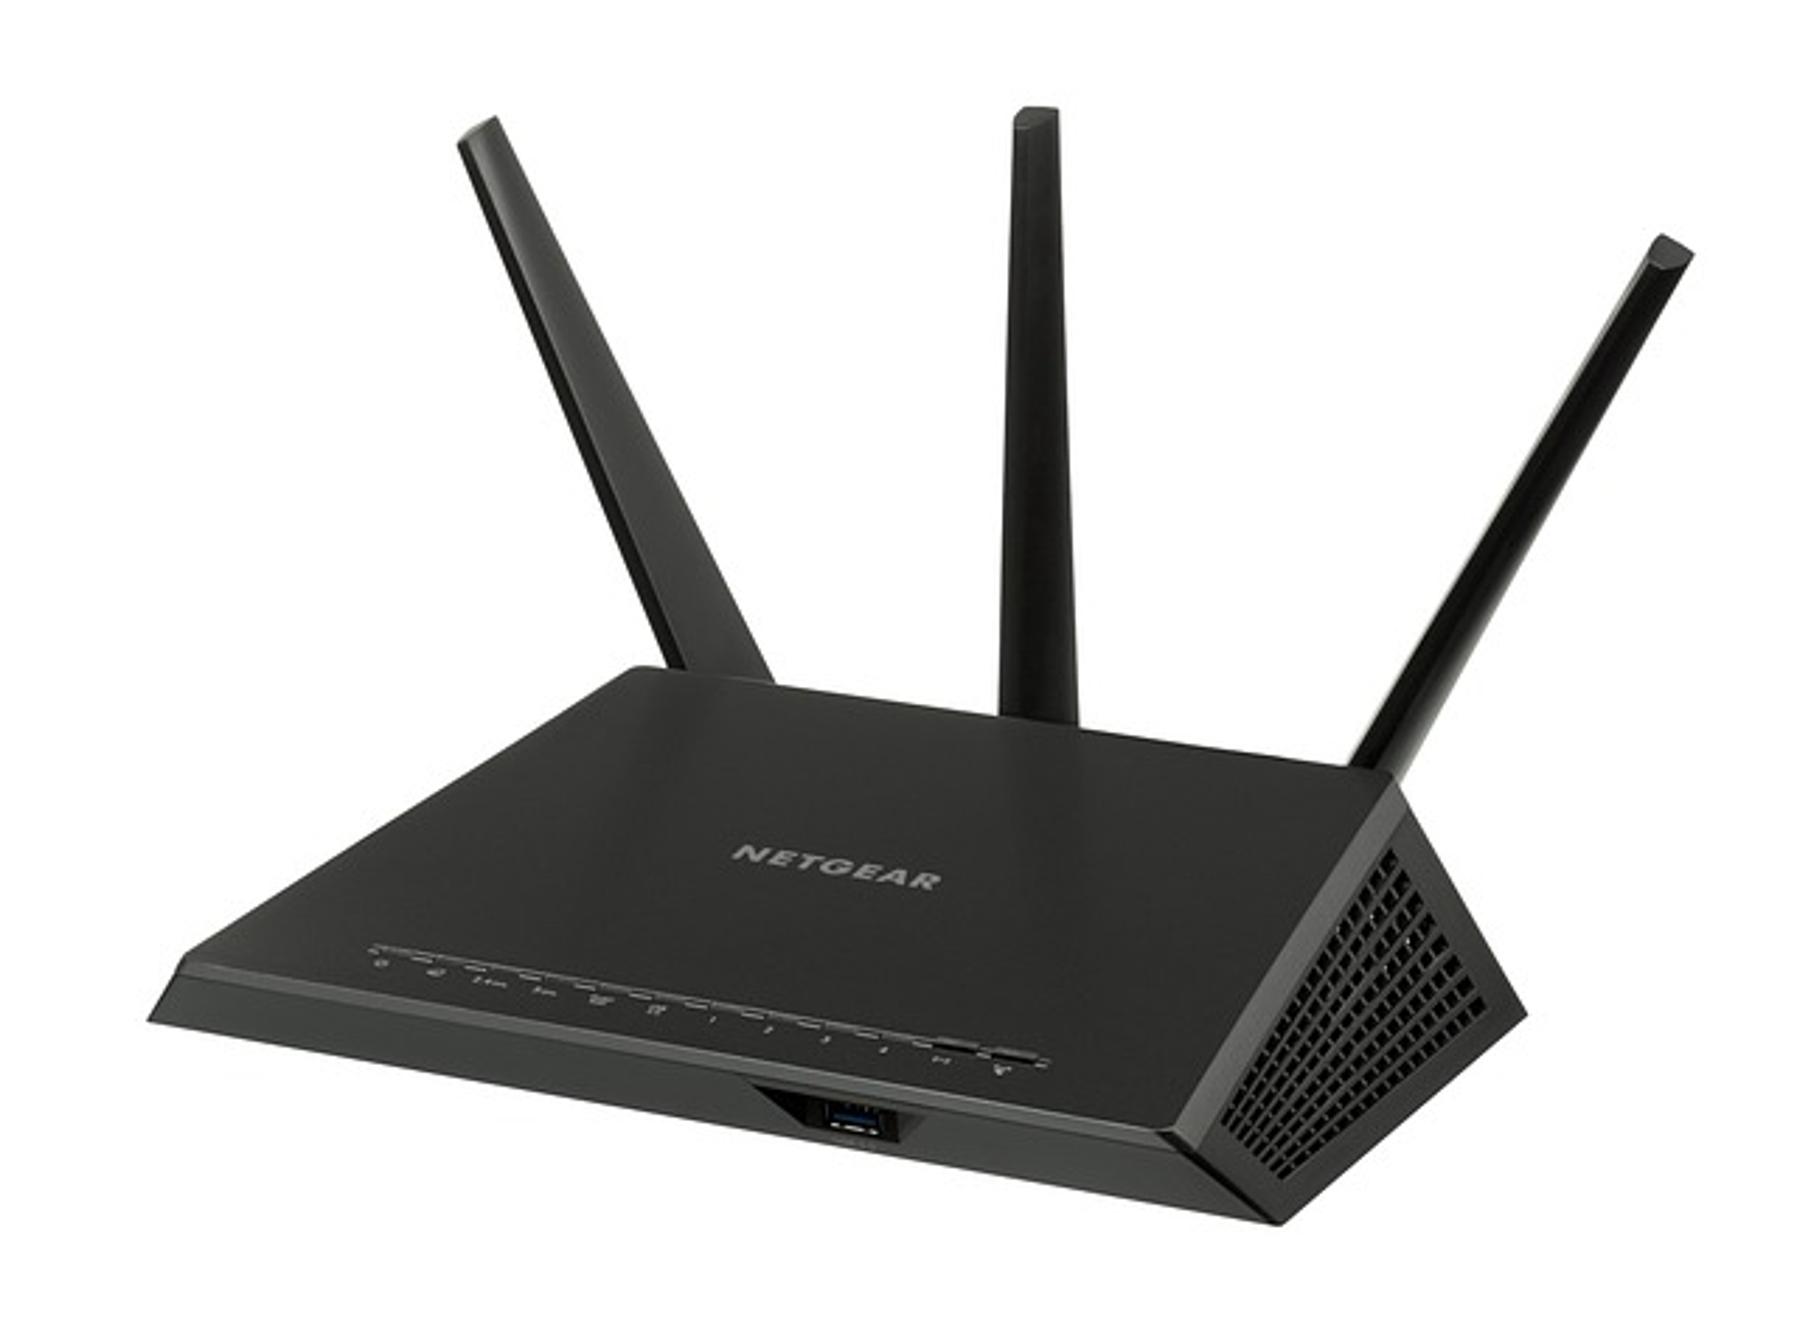
Netgear WiFi extenders come in various models, each boasting different features, such as dual-band support, Ethernet ports, and even smart roaming capabilities. Knowing your extender's capabilities can help you better configure it to suit your networking needs. Essentially, while the main router provides the initial signal, the WiFi extender serves as a bridge, extending this signal's reach to ensure no corner of your space is left in the dark.
Understanding these basics is crucial. It helps in ensuring that the setup aligns well with the specific Netgear model you own. By grasping the operations and features of your WiFi extender, you are halfway through solving most setup challenges and potential issues.
Pre-Setup Requirements
Setting up a Netgear WiFi extender requires some preparation. Here’s a quick checklist:
- A functional WiFi network: Ensure that your primary router is properly configured and provides a stable internet connection.
- Netgear WiFi Extender: Keep your extender close during the initial setup process.
- A device for configuration: This could be a laptop, tablet, or smartphone with a web browser pre-installed.
- Router details: You will need the SSID (network name) and the password of your router.
Having these requirements in place will streamline your setup process and minimize potential hurdles. Make sure that you have these components ready before beginning. This preparation allows for a smoother experience and quicker setup, getting you connected in no time.
Setting Up Your Netgear WiFi Extender
There are two primary methods to set up your Netgear WiFi extender: Using the WPS method and the manual setup via a web browser. Both methods are effective and straightforward.
Using WPS Method
- Plug in the extender: Find an outlet close to your router and plug in your extender. Wait for the Power LED to turn solid green.
- Initiate WPS: Press the WPS button on your extender. Within two minutes, press the WPS button on your router.
- Connect to the network: The extender’s WPS LED should turn solid green, indicating a successful connection. If your router supports a 5 GHz band, repeat the same steps to connect the extender to the 5 GHz network.
- Relocate the extender: Unplug your extender and place it halfway between your router and the area with a poor signal. The location should have a reliable router signal.
Manual Setup via Web Browser
- Connect to the extender: Plug in the extender and connect your device to its default SSID (Netgear_EXT).
- Access the setup page: Open a web browser and enter 'www.mywifiext.net' or '192.168.1.250' in the address bar. This will direct you to the Netgear setup page.
- Follow the setup wizard: Log in using the default credentials (often 'admin' for both username and password). Follow the on-screen instructions to connect the extender to your existing WiFi network.
- Rename and secure connection: Optionally, you can rename the extender's SSID (e.g., MyWiFi_EXT) and set a password to secure the connection.
Upon completion of these steps, configuring the extender with your router will ensure seamless operation.
Configuring the Extender with Your Router
Once the physical setup is complete, fine-tuning is essential to ensure the extender works cohesively with your router:
- Verify connection: Ensure the extender is connected to your router. Check the network status lights on the extender.
- Sync SSIDs: For seamless connectivity and minimal confusion, sync the SSID of your extender with your main router. It simplifies network management as devices can switch between the router and extender without manual intervention.
- Password protection: Secure your network by enabling WPA2 or WPA3 security on the extender. Use strong, unique passwords to fortify your internet against unauthorized access.
- Update firmware: Make sure your extender has the latest firmware for optimal performance and security. Access the settings via the Netgear website or the setup page to check for updates.
- Test the connection: Walk around your home or office, checking the WiFi signal in previously weak spots. Adjust settings or extender placement if needed.
Proper configuration ensures that your extender and router work as a unified system, significantly boosting your network's reliability and coverage.

Optimizing Extender Placement for Best Performance
The placement of your Netgear WiFi extender is instrumental in achieving the best performance:
- Halfway rule: Place the extender halfway between your router and the area with weak connectivity. This ensures it receives a strong signal from the router to rebroadcast.
- Avoid obstructions: Keep the extender away from walls, large furniture, and appliances that can interfere with signal transmission.
- Height matters: Ideally, place the extender at an elevated position, similar to the router, to maximize its broadcast range.
Good placement can make a significant difference, transforming dead zones into reliable internet zones.
Troubleshooting Common Issues
Despite careful setup, you might encounter some common issues with your Netgear WiFi extender. Here’s how to resolve them:
Extender Not Connecting to Router
- Check distance: Ensure the extender is within the range of the router.
- Reset extender: Try resetting the extender to factory settings and attempt the setup again.
- Correct SSID and Password: Double-check that you're entering the correct SSID and password during the setup.
Low Signal Strength
- Reposition extender: The extender may need repositioning closer to the router.
- Change channel: Use the router’s admin page to change the WiFi channel and reduce interference.
Intermittent Connectivity
- Firmware update: Outdated firmware can cause connectivity issues. Check for the latest updates.
- Environmental factors: Reduce physical obstructions and electronic interference around your extender.
Proactively addressing these issues can help achieve a stable and efficient WiFi network, enhancing your overall experience.

Conclusion
Setting up your Netgear WiFi extender doesn’t need to be complicated. By understanding the extender's functionality, preparing adequately, following the setup steps, configuring correctly, optimizing placement, and troubleshooting when necessary, you can significantly boost your WiFi range and reliability. This comprehensive guide aims to make your setup process smooth and effective, ensuring you get the best out of your Netgear device.
Frequently Asked Questions
What is the range of a Netgear WiFi extender?
The range varies by model, but most Netgear extenders can cover up to 2,500 square feet. Check your specific model's manual for precise coverage details.
Can I use multiple Netgear WiFi extenders in my home?
Yes, you can use multiple extenders. However, for optimal performance, connect each extender to the main router rather than daisy-chaining them.
How often should I update the firmware on my Netgear WiFi extender?
Regularly check for firmware updates every few months. These updates can provide performance enhancements and security fixes, ensuring your extender operates efficiently.


