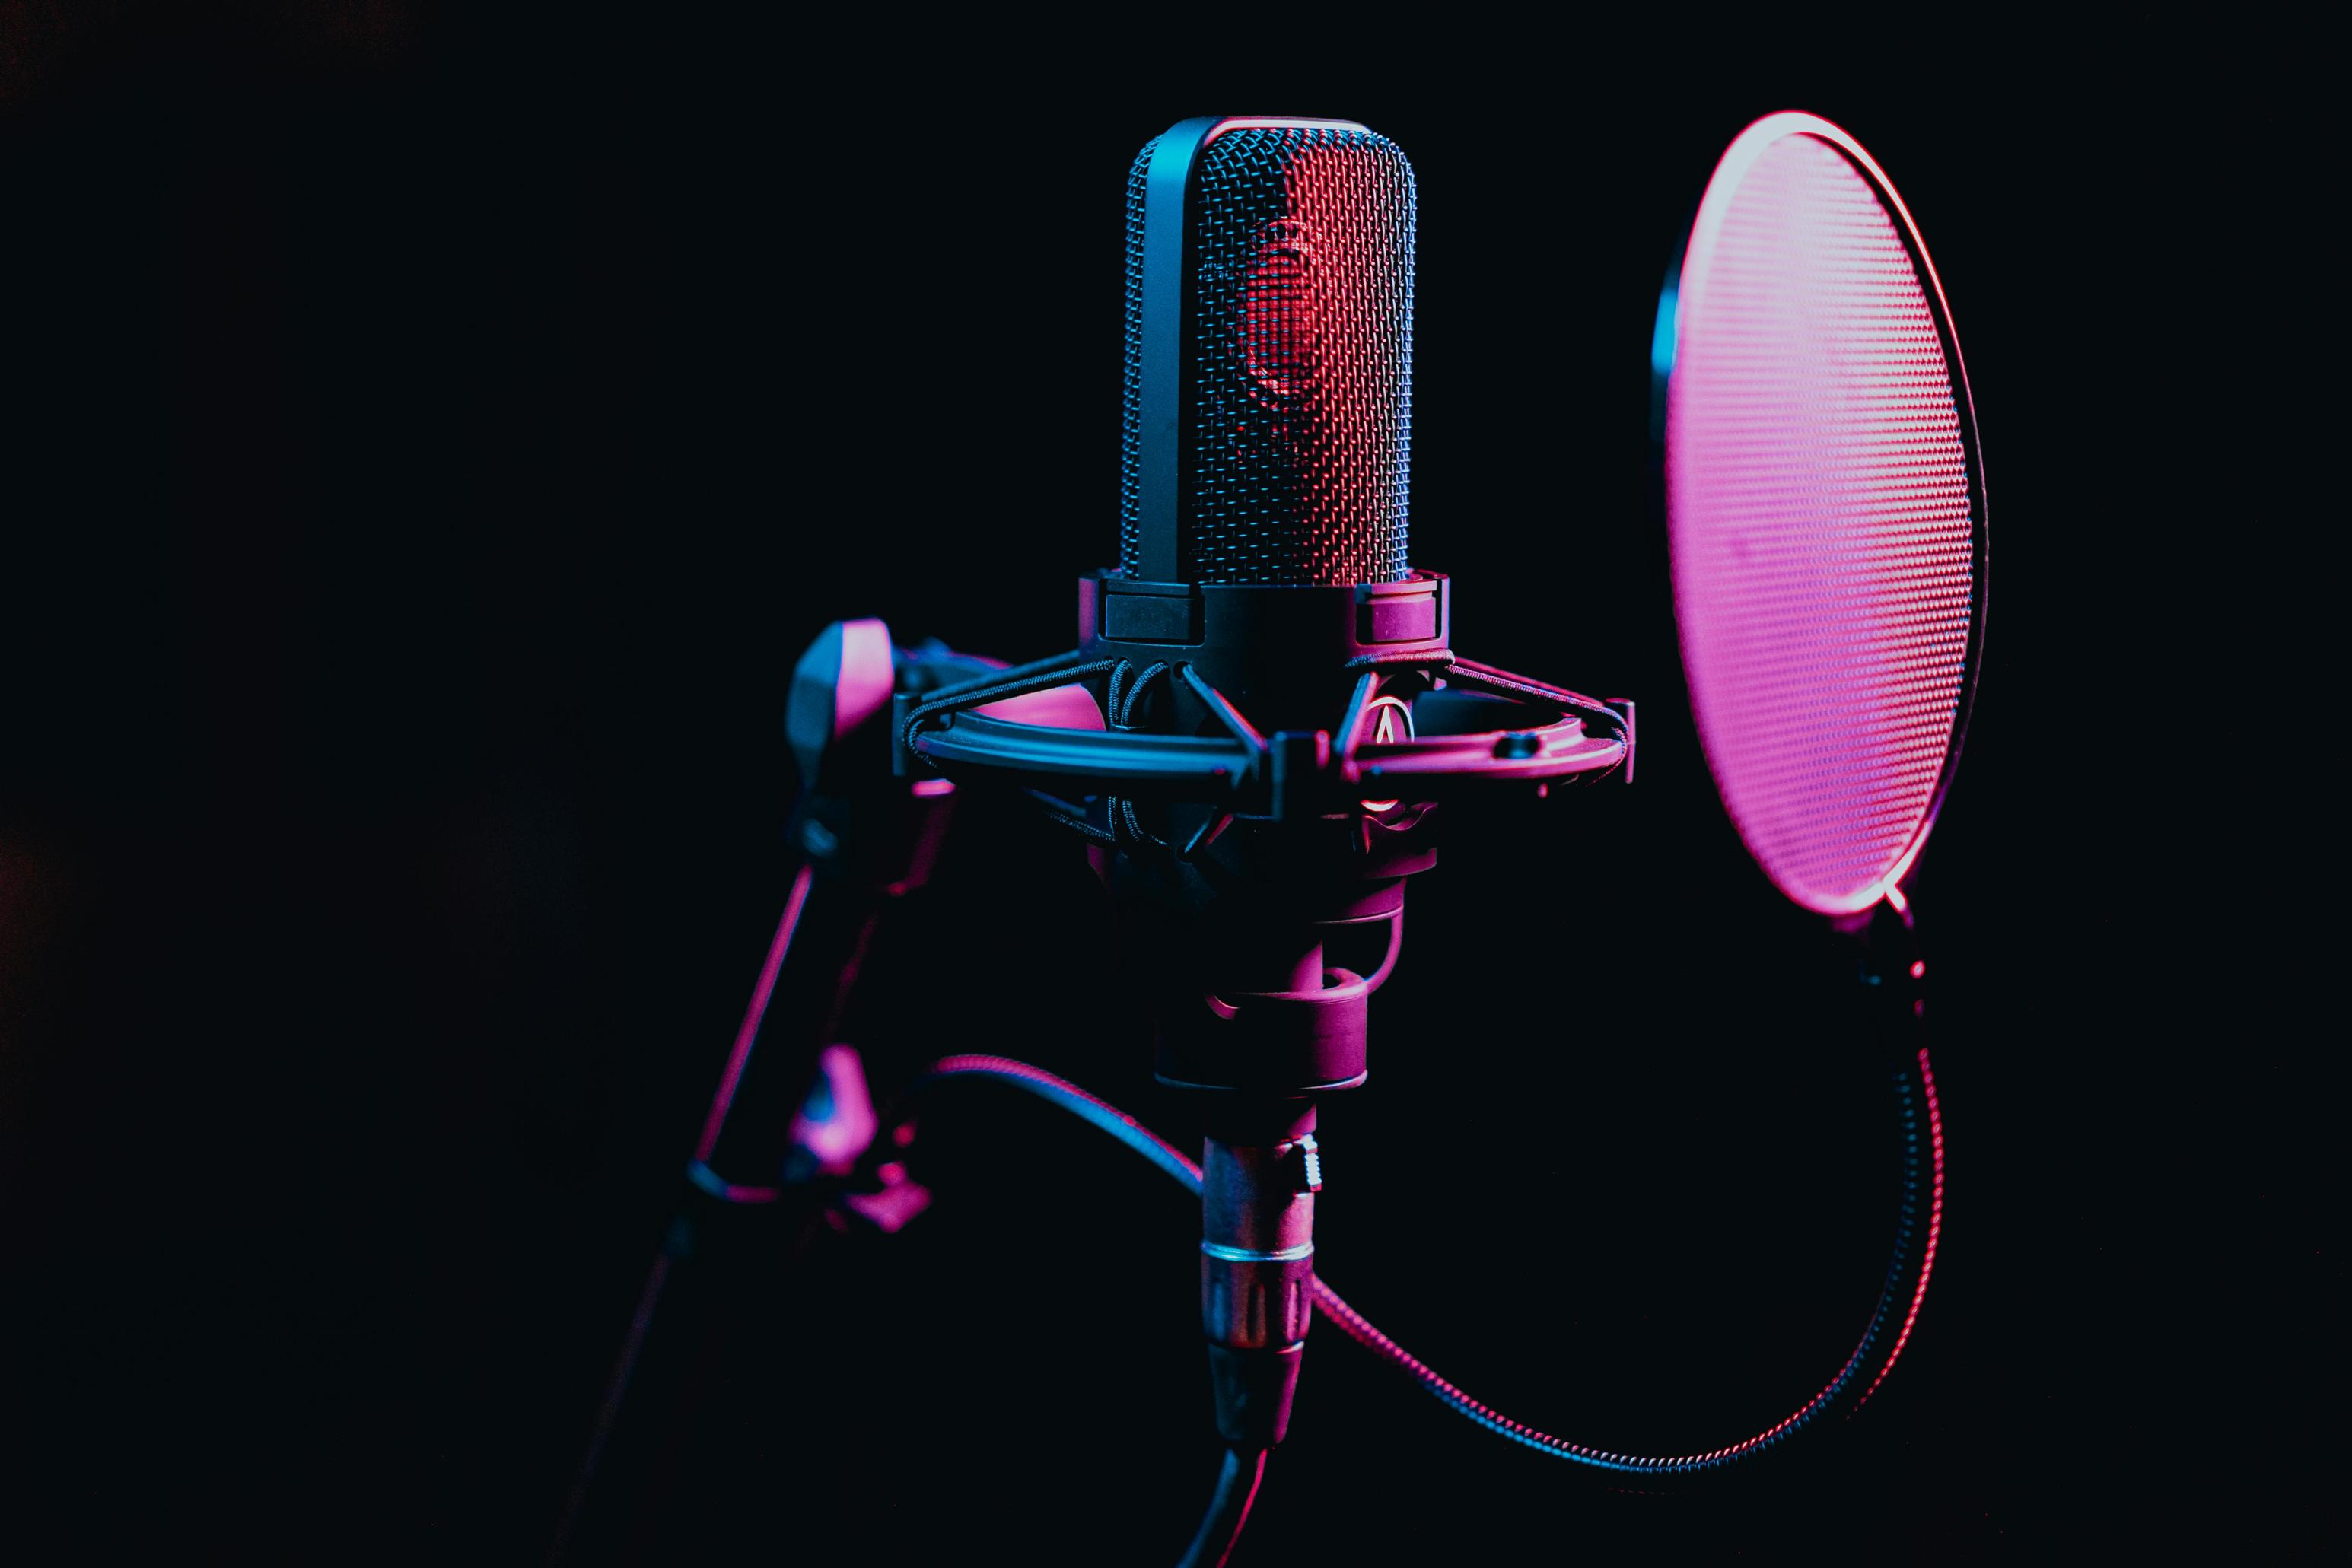
What Audio Cable is Used for DIY Perks Mic (2024)
Introduction
Creating a DIY microphone can be both a fun and rewarding experience. However, one critical element that often gets overlooked is the audio cable. Getting this part right can significantly impact the microphone's performance and longevity. This blog aims to guide you through the essentials of selecting the best audio cable for your DIY Perks mic project in 2024. We'll explore different types of cables, give you tips on how to choose the right one, and provide a step-by-step guide to assembling your own audio cables.

The Importance of Audio Cables in DIY Microphone Projects
Audio cables play a crucial role in the quality of sound your DIY microphone captures. Poor-quality cables can result in noise interference, sound distortion, and even signal loss. On the other hand, a good quality cable ensures that the sound recorded is as clear and accurate as possible, letting your microphone’s true potential shine through. Therefore, selecting the right cable is not just a technical necessity but a crucial step in achieving professional-grade audio output.

Understanding Different Types of Audio Cables
Choosing the correct type of audio cable can be daunting given the plethora of options available. However, most DIY Perks microphone projects will generally employ one of three main types: XLR, TRS/TS, and USB cables. Each has its specific use case, advantages, and drawbacks.
XLR Cables
XLR cables are the gold standard in professional audio settings, favored for their excellent sound quality and durability. These cables are balanced, meaning they can carry audio signals over long distances without significant loss or interference. Their connectors have three pins which ensure a secure connection and minimize the risk of accidental disconnects.
TRS and TS Cables
TRS (Tip-Ring-Sleeve) and TS (Tip-Sleeve) cables are also common in audio projects. TRS cables are balanced like XLR cables and are often used in professional and semi-professional environments. TS cables, however, are unbalanced and more suited for shorter runs. They are frequently used for instruments and line-level connections.
USB Cables
USB cables have grown in popularity due to their ease of use and wide compatibility with modern computers and recording devices. These cables convert analog signals into digital, making them a convenient option for home studios. However, they may not offer the same sound quality and durability as XLR or TRS cables.
How to Choose the Right Cable for Your DIY Perks Mic
Selecting the right audio cable for your DIY Perks microphone is crucial for achieving the best results. Here are some factors to consider:
Cable Length and Flexibility
Choose a cable length that suits your setup but avoid excessively long cables if not necessary, as longer cables can introduce more potential for signal degradation. Flexibility is essential if your setup requires a lot of movement.
Shielding and Durability
Quality shielding protects your cable from electromagnetic and radio-frequency interference, preserving the integrity of your audio signal. Opt for cables with robust shielding and durable outer material to withstand wear and tear.
Connector Quality
High-quality connectors ensure a secure connection and reduce the risk of signal loss. Look for cables with connectors that fit snugly and are made from durable materials like metal.

Step-by-Step Guide to Assembling a DIY Perks Mic Cable
Creating your DIY audio cable can be a satisfying process. Here's how you can do it:
Gathering Necessary Tools and Materials
You will need the following tools and materials: - Audio cable of your choice - Appropriate connectors (XLR, TRS, TS, or USB) - Soldering iron and solder - Wire strippers and cutters - Heat shrink tubing
Preparing the Cable and Connectors
- Cut the cable to the desired length.
- Strip the outer insulation to expose the inner wires.
- Prepare the connectors by disassembling them and laying out the components.
Soldering and Assembly Process
- Tin the ends of the exposed wires and the connector pins.
- Solder the wires to the corresponding pins on the connector.
- Reassemble the connector housing, ensuring all connections are secure.
Quality Testing and Troubleshooting
- Plug the cable into your audio setup and run a sound test.
- Listen for any interference or signal loss.
- If issues arise, recheck connections and re-solder if necessary.
Common Mistakes to Avoid When DIYing Audio Cables
Creating your own audio cables can be straightforward but avoid these common pitfalls: 1. Using poor-quality materials can lead to poor performance and frequent replacements. 2. Inadequate soldering can result in weak connections that may fail over time. 3. Overlooking cable length considerations can introduce unnecessary signal degradation and clutter.
Benefits of Using High-Quality Cables in DIY Projects
Investing in high-quality audio cables for your DIY projects offers multiple advantages.
Improved Sound Quality
High-quality cables provide cleaner, clearer audio signals with minimal interference, significantly enhancing your recordings.
Longevity and Durability
Good cables withstand constant use and environmental factors, ensuring they last longer and are reliable.
Cost Efficiency
Though initially more expensive, high-quality cables save money in the long run by lasting longer and reducing the need for frequent replacements.
Conclusion
Selecting the right audio cable for your DIY Perks mic is crucial for achieving optimal sound quality and durability. By understanding the different types of cables, considering key factors like length, shielding, and connector quality, and following the step-by-step assembly guide, you can create a high-quality audio setup that serves you well.
Frequently Asked Questions
What is the best audio cable for DIY perks mic projects?
The best audio cable often depends on your specific needs. XLR cables are generally recommended for their sound quality and durability.
Can I use a USB cable for my DIY microphone?
Yes, USB cables are a convenient option for many DIY microphones but may not offer the same sound quality as XLR or TRS cables.
How do I know if my audio cable is of good quality?
A good quality cable will have robust shielding, high-quality connectors, and minimal signal interference during use.


